CHAPTER 1: Monday-night-boredom Handvo.
Inspired from here.
My Version of Handvo
The batter:
2 cups handvo flour- easily available at Indian grocery stores.
1/2 cup dahi- sour yogurt
Just enough warm (not hot!!) water to make a thick batter. The batter should not drip like dosa batter.
Mix the three and keep in a warm place to ferment overnight. In colder weather, preheat the oven at 250 F for 15-20 mins, then leave it overnight. If you're doing this in the daytime, you can repeat this step every 2 hours.
Handvo batter does not typically rise like idli batter, it just gets a slightly sour smell (if that). So stick to the 8 hour fermentation, even if you think the batter is not ready.
To be added to the batter:
1 small dudhi (bottle gourd): grated
1 small zucchini: grated
3 green chillies, 1 inch piece of ginger and about 20 coriander leaves to be ground to a paste.
1 level tsp baking soda
salt to taste
Preheat the oven at 350 F while you prepare the
Tempering:
Heat 2 tbsps oil
Add a pinch of asafoetida (hing),
A tsp of mustard seeds
10 chopped curry leaves (kadi patta)
Mix the batter with the veggies and the tempering thoroughly. Take an oven safe pan (I prefer the glass Pyrex ones because they allow the top crust to get brown without burning the bottom).
For the first time, I used parchment paper while baking it. Not only did the handvo not stick, but I had to grease the dish with a lot less oil. I lined it with parchment paper on all sides, not just the bottom.
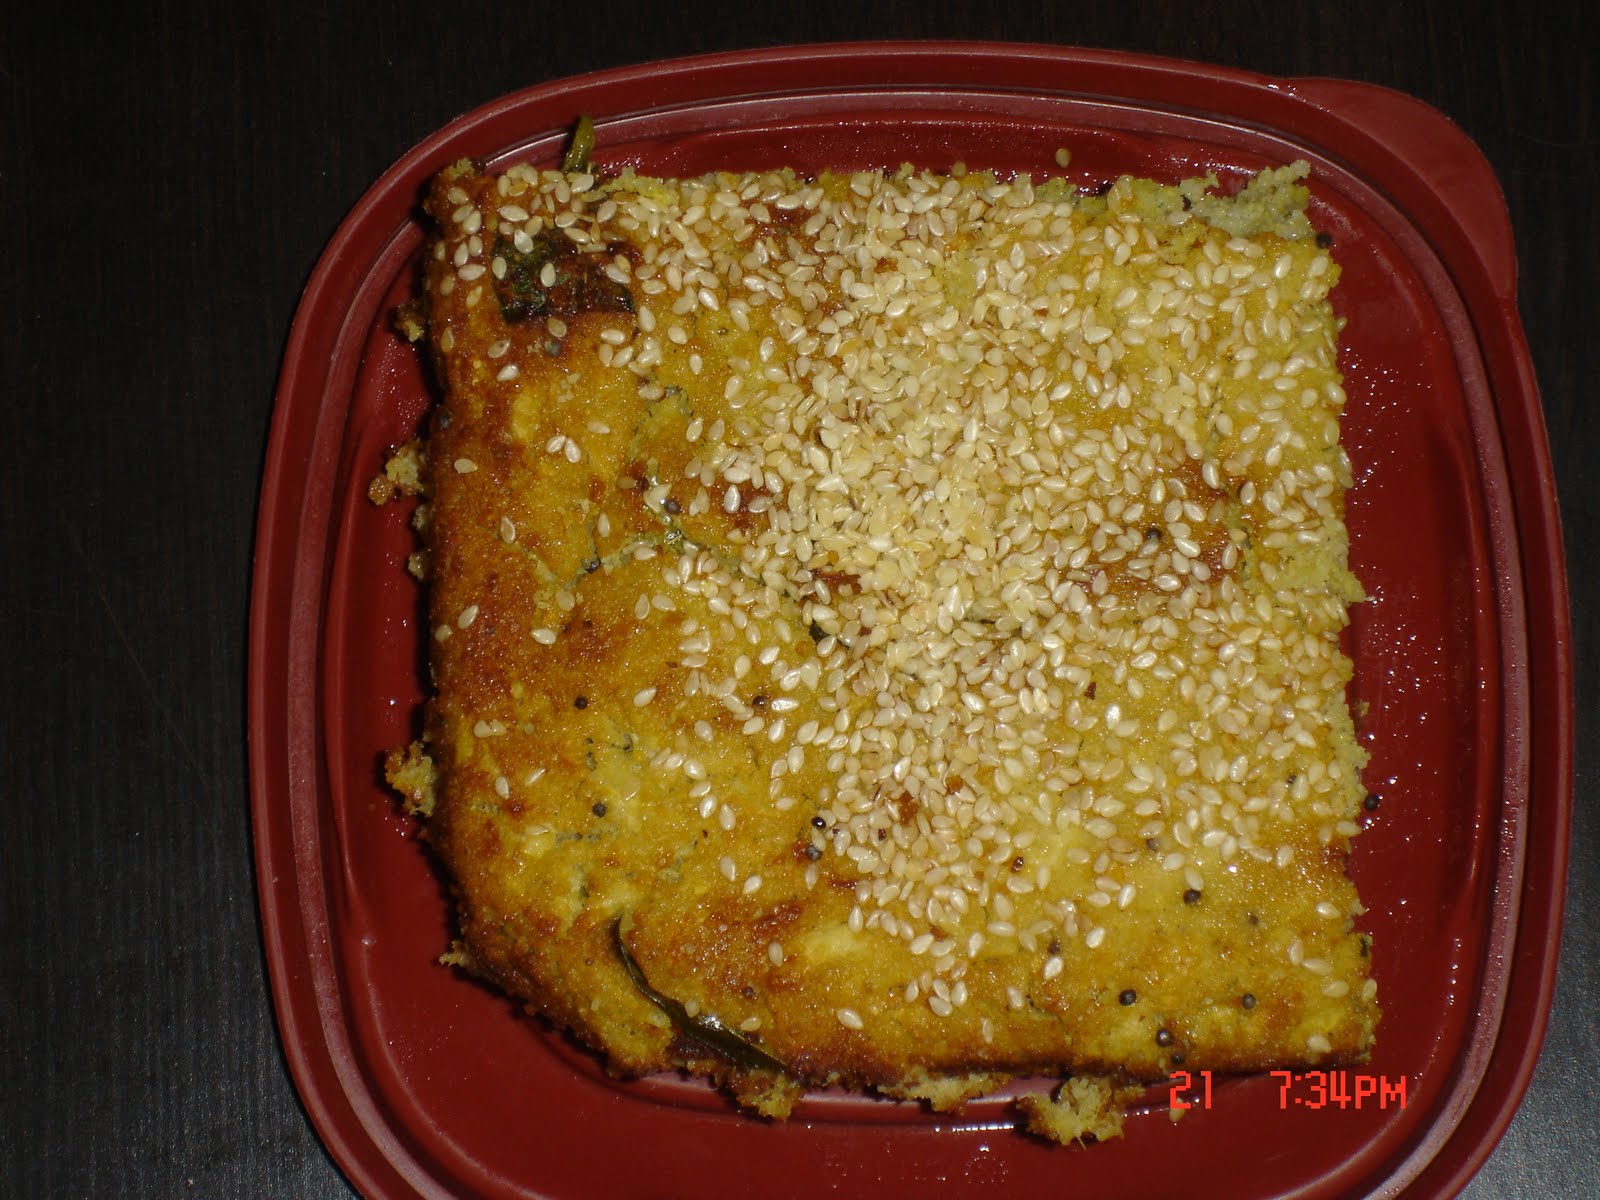
Last but not the least, generously sprinkle the assembly with white sesame seeds before baking it in the oven. Bake it at 350 F. Depending on your oven, it should be ready in 30-40 mins. Eat hot with green chutney, ketchup (sos), and a hot cuppa tea.
I apologise for the pathetic pictures, but my hungry husband devoured the handvo before I could take any decent pictures.
Handvo has carbs, veggies and proteins in it. So it's my first recipe for BB8.


CHAPTER 2: Way-to-hubby's heart methi theplas
Inspired from here with valuable inputs from my MIL, and of course, my own tweak to the recipe.
Prologue:
My husband loves methi theplas. When I first got married, I was regaled with stories of my mom-in-law's legendary theplas. My father-in-law, his friends, my husband, his friends, and not to mention extended family, everyone supplied me with stories of her melt-in-the-mouth theplas. As a result, for the first year of my marriage I did not make theplas. I'm one of those people who absolutely hates the phrase "this is not how it tastes when my mom makes it" , especially when I have spent 3 hours in the kitchen making it. And I was very sure I would never be able to live upto the legendary theplas she makes (which by the way, truth be told, are really melt in the mouth, no kidding).
As time passed, I began to get a bit thick skinned towards such comments. And after my first India trip, with help from my MIL, I tried her theplas. They turned out OK, except for one thing- I can't bear to put the amount of oil (called mon in gujrati, moyen in hindi) she uses in making the atta. So I had to come up with something to reduce the oil, and keep the softness of the theplas. I came across this recipe while browsing one day. I was thrilled that it used only 1 tbsp oil for the dough. The theplas turned out good, except that they did not remain soft for long. Hmm. Then one day I reviewed both recipes. My MIL usually puts curd (yogurt, dahi) in her theplas when she makes them for me to bring back. They stay fresh that way. So the next time I made methi theplas, I used about 1 tbsp oil per cup of wheat flour, and kneaded the dough entirely with curd. and kept my fingers crossed. The following recipe now gives me theplas that taste fairly above average and are definitely very soft (melt-in-the-mouth-with-a-little-effort).
My recipe for happy husband....errr..... Methi Theplas:
Makes about 30 large theplas
3 cups wheat flour
salt to taste
3-4 tbsp white sesame seeds
1 tbsp turmeric powder
1/4 tsp asafoetida(hing)
2 cups finely chopped methi
(If fresh methi is not available, use 7-8 tbsp of kasuri methi, soaked for 3 hours before making the atta).
3-4 tbsp oil
3 green chillies+1 inch piece of ginger+a handful of coriander leaves+6 cloves garlic: to be ground to a paste.
Enough yogurt to make atta(dough), which should be softer than that for rotis.
Oil for frying (read roasting) the theplas.
According to my MIL the sequence of addition of ingredients is very important.
Take the wheat flour. Add the sesame seeds, salt, turmeric, hing and the chopped methi. Mix well. Next add the oil and the masala paste. Mix well, till the flour looks uniform. Then add the yogurt little by little until the dough becomes soft. It should be softer than the dough for chapatis.

Next heat up the tawa, and start rolling the theplas. For really soft theplas, they should be rolled as thin as the dough will allow. Place the rolled thepla on the tawa. Once it gets a couple of brown spots, turn it immediately.

Let it roast for a couple of mins, then oil the side of the thepla that's facing you. Flip it towards the tawa and back up again. Let the other side finish cooking, then flip the thepla for a final time. Once it's browned nicely, take it off the tawa. It's like making parathas, I just described the sequence for anyone who is new to cooking.
The finished theplas looked like this, and they tasted really good. They are still not melt-in-the-mouth like my MIL's, but they're good enough for now.

Again, they taste perfect with tea, chundo and gujarati sambhar (methio masalo).
The theplas have Flour(carbs), Methi(veggies) and Yogurt( protein). It is my second recipe for BB8.
CHAPTER 3: Friday night pan pizza for two:
My pizza craving is sometimes ridiculous. Last Friday, this craving happened to strike at the same time I was itching to bake. I found this recipe for a pizza base I could use.
I pretty much followed the recipe to a T, except that I kneaded by hand, and I had to add more water to get it right. Also I halved it to make one 12 inch pizza.
THE SAUCE:
This sauce is a staple I use for pastas. It really doesn't have any logic or precedent, but it works very well.
2 medium tomatoes
4 cloves garlic
1 medium onion chopped
1-2 tbsp tomato kethcup
8-10 leaves of spinach
3 inch piece of paneer/ cottage cheese (it gives the same consistency to the sauce as ricotta cheese)
1 tbsp oil
salt to taste
Saute the onions in the oil. Blend the rest of the ingredients and add it to the sauteed onions. Allow to thicken.
THE TOPPINGS:
Preheat the oven at 500F while assembling the pizza. (I used a cast iron skillet I have, as opposed to a pizza stone that I couldn't find anywhere. I heated the skillet in the oven too, while I assembled the pizza). Roll out the base, cover it with sauce, top it with vegetables of your choice. I used peppers, onions, tomatoes, olives. To half the pizza I added a cheese blend I had handy, to the other half I added grated paneer (cottage cheese). I slid the whole assembly from my baking sheet onto the cast iron skillet. The recommended thing to do is to use a pizza peel to assemble the pizza and transfer it. (BE VERY CAREFUL, THE SKILLET GETS HOT, AND I NEEDED AN EXTRA PAIR OF HANDS FOR THIS STEP). I topped it with dry Italian seasoning and popped it into the oven.

Bake the pizza for approximately 10 mins at 500 F. I like a crisp crust, so I baked a little longer. The pizza was awesome, and surprisingly the paneer topping half got devoured before the cheesy half.


The batter:
2 cups handvo flour- easily available at Indian grocery stores.
1/2 cup dahi- sour yogurt
Just enough warm (not hot!!) water to make a thick batter. The batter should not drip like dosa batter.
Mix the three and keep in a warm place to ferment overnight. In colder weather, preheat the oven at 250 F for 15-20 mins, then leave it overnight. If you're doing this in the daytime, you can repeat this step every 2 hours.
Handvo batter does not typically rise like idli batter, it just gets a slightly sour smell (if that). So stick to the 8 hour fermentation, even if you think the batter is not ready.
To be added to the batter:
1 small dudhi (bottle gourd): grated
1 small zucchini: grated
3 green chillies, 1 inch piece of ginger and about 20 coriander leaves to be ground to a paste.
1 level tsp baking soda
salt to taste
Preheat the oven at 350 F while you prepare the
Tempering:
Heat 2 tbsps oil
Add a pinch of asafoetida (hing),
A tsp of mustard seeds
10 chopped curry leaves (kadi patta)
Mix the batter with the veggies and the tempering thoroughly. Take an oven safe pan (I prefer the glass Pyrex ones because they allow the top crust to get brown without burning the bottom).
For the first time, I used parchment paper while baking it. Not only did the handvo not stick, but I had to grease the dish with a lot less oil. I lined it with parchment paper on all sides, not just the bottom.
Last but not the least, generously sprinkle the assembly with white sesame seeds before baking it in the oven. Bake it at 350 F. Depending on your oven, it should be ready in 30-40 mins. Eat hot with green chutney, ketchup (sos), and a hot cuppa tea.
I apologise for the pathetic pictures, but my hungry husband devoured the handvo before I could take any decent pictures.
Handvo has carbs, veggies and proteins in it. So it's my first recipe for BB8.

CHAPTER 2: Way-to-hubby's heart methi theplas
Inspired from here with valuable inputs from my MIL, and of course, my own tweak to the recipe.
Prologue:
My husband loves methi theplas. When I first got married, I was regaled with stories of my mom-in-law's legendary theplas. My father-in-law, his friends, my husband, his friends, and not to mention extended family, everyone supplied me with stories of her melt-in-the-mouth theplas. As a result, for the first year of my marriage I did not make theplas. I'm one of those people who absolutely hates the phrase "this is not how it tastes when my mom makes it" , especially when I have spent 3 hours in the kitchen making it. And I was very sure I would never be able to live upto the legendary theplas she makes (which by the way, truth be told, are really melt in the mouth, no kidding).
As time passed, I began to get a bit thick skinned towards such comments. And after my first India trip, with help from my MIL, I tried her theplas. They turned out OK, except for one thing- I can't bear to put the amount of oil (called mon in gujrati, moyen in hindi) she uses in making the atta. So I had to come up with something to reduce the oil, and keep the softness of the theplas. I came across this recipe while browsing one day. I was thrilled that it used only 1 tbsp oil for the dough. The theplas turned out good, except that they did not remain soft for long. Hmm. Then one day I reviewed both recipes. My MIL usually puts curd (yogurt, dahi) in her theplas when she makes them for me to bring back. They stay fresh that way. So the next time I made methi theplas, I used about 1 tbsp oil per cup of wheat flour, and kneaded the dough entirely with curd. and kept my fingers crossed. The following recipe now gives me theplas that taste fairly above average and are definitely very soft (melt-in-the-mouth-with-a-little-effort).
My recipe for happy husband....errr..... Methi Theplas:
Makes about 30 large theplas
3 cups wheat flour
salt to taste
3-4 tbsp white sesame seeds
1 tbsp turmeric powder
1/4 tsp asafoetida(hing)
2 cups finely chopped methi
(If fresh methi is not available, use 7-8 tbsp of kasuri methi, soaked for 3 hours before making the atta).
3-4 tbsp oil
3 green chillies+1 inch piece of ginger+a handful of coriander leaves+6 cloves garlic: to be ground to a paste.
Enough yogurt to make atta(dough), which should be softer than that for rotis.
Oil for frying (read roasting) the theplas.
According to my MIL the sequence of addition of ingredients is very important.
Take the wheat flour. Add the sesame seeds, salt, turmeric, hing and the chopped methi. Mix well. Next add the oil and the masala paste. Mix well, till the flour looks uniform. Then add the yogurt little by little until the dough becomes soft. It should be softer than the dough for chapatis.

Next heat up the tawa, and start rolling the theplas. For really soft theplas, they should be rolled as thin as the dough will allow. Place the rolled thepla on the tawa. Once it gets a couple of brown spots, turn it immediately.

Let it roast for a couple of mins, then oil the side of the thepla that's facing you. Flip it towards the tawa and back up again. Let the other side finish cooking, then flip the thepla for a final time. Once it's browned nicely, take it off the tawa. It's like making parathas, I just described the sequence for anyone who is new to cooking.
The finished theplas looked like this, and they tasted really good. They are still not melt-in-the-mouth like my MIL's, but they're good enough for now.

Again, they taste perfect with tea, chundo and gujarati sambhar (methio masalo).
The theplas have Flour(carbs), Methi(veggies) and Yogurt( protein). It is my second recipe for BB8.
CHAPTER 3: Friday night pan pizza for two:
My pizza craving is sometimes ridiculous. Last Friday, this craving happened to strike at the same time I was itching to bake. I found this recipe for a pizza base I could use.
I pretty much followed the recipe to a T, except that I kneaded by hand, and I had to add more water to get it right. Also I halved it to make one 12 inch pizza.
THE SAUCE:
This sauce is a staple I use for pastas. It really doesn't have any logic or precedent, but it works very well.
2 medium tomatoes
4 cloves garlic
1 medium onion chopped
1-2 tbsp tomato kethcup
8-10 leaves of spinach
3 inch piece of paneer/ cottage cheese (it gives the same consistency to the sauce as ricotta cheese)
1 tbsp oil
salt to taste
Saute the onions in the oil. Blend the rest of the ingredients and add it to the sauteed onions. Allow to thicken.
THE TOPPINGS:
Preheat the oven at 500F while assembling the pizza. (I used a cast iron skillet I have, as opposed to a pizza stone that I couldn't find anywhere. I heated the skillet in the oven too, while I assembled the pizza). Roll out the base, cover it with sauce, top it with vegetables of your choice. I used peppers, onions, tomatoes, olives. To half the pizza I added a cheese blend I had handy, to the other half I added grated paneer (cottage cheese). I slid the whole assembly from my baking sheet onto the cast iron skillet. The recommended thing to do is to use a pizza peel to assemble the pizza and transfer it. (BE VERY CAREFUL, THE SKILLET GETS HOT, AND I NEEDED AN EXTRA PAIR OF HANDS FOR THIS STEP). I topped it with dry Italian seasoning and popped it into the oven.

Bake the pizza for approximately 10 mins at 500 F. I like a crisp crust, so I baked a little longer. The pizza was awesome, and surprisingly the paneer topping half got devoured before the cheesy half.


The pizza has all the major foodgroups, so as the final chapter of my trilogy, it goes to BB8.
And so on and so forth until next time.